Showing posts with label D4F (design for fun). Show all posts

12.8.11

QR Codes

Yesterday, a friend emailed me a pretty cool article. It's titled - Brave hipster gets animated tattoo using a QR code. After reading the article and watching the video that was attached, all that's in my mind was if this video is legit.

You know, the last time, I got conned into believing a someone managed to tattoo all 152  friends on her arm. Now, if I were to think twice, I'd know it's not possible, each cell will be too small.

Anyway, long story short, I saw the video (see below) then thought, how cool it would be to get a tattoo of a QR code and have it linked to someone's contact details? That means whenever you are asked for your contact, just present your QR Code tattoo, get it scanned and voila, your contact details is now with this other person. And with that thought, I started researching on QR Codes. Found a couple but they are pretty average -  you can only create a Code that directs you to a website or have some notes attached to the Code so when someone scan the Code, it will automatically direct you to a website.

The QR Code this guy got tattooed on his chest only directs the user to a website, in this case, he embedded a link (in his QR Code) to YouTube showing a video he posted.

Don't get me wrong, this is good but not what I wanted. I want to be able to scan the Code and it will show me contact details and with a click (a touch if it's an iPhone) of a button, save that contact details to my Contacts, in all relevant fields ie Name to be in Name, Address to be in Address etc.

After some digging around, I found exactly what I wanted. Well, here it is...

How to generate the code
• Visit Google’s Chart Wizard 
• Click the Editor tab
• Select QR Code from the Chart type 


• Reformat the sample below to and input your code


Sample codeMECARD:N:Your Name;ADR:Your Address;TEL:Your Phone Number;
EMAIL:Your Email Address;URL:Your Website;;

• Click outside the input field to have it render the QR code

What to do with your code
• Making the QR code larger makes complex codes easier to read by scanners.
• Take a screen shot of the finished image.
• Add the image to whatever object you plan to show people (business card, background on your phone, t-shirt, store front, billboard, etc.)


Code Readers
Now get a QR reader for your smart phone so that you can read other QR codes out there. For iPhone I suggest use a free app called i-nigma. Now that you've got your app, you can try out your QR Code scanner by scanning the QR Code I created on your left.

Happy coding!

4.7.11

Pencil Tip Micro Sculptures By Dalton Ghetti


Brazilian born, Connecticut based, Dalton Ghetti carefully crafts the tips of pencils into amazing micro sculptures. These miniature masterpieces are a side project for the professional carpenter, who has been perfecting this art for the last 25 years.

Dalton uses a razor blade, sewing needle, a sculpting knife, a steady hand and lots of patience to meticulously carve the graphite which can take anywhere between a few months to a few years. Over time he has broken many works in progress and keeps them in what he calls the cemetery collection.

One of the most fascinating things about these tiny works of art is that he has never sold them, only given away to friends as gifts.

via telegraph.co.uk


16.2.11

LEGO tattoo pilot pen ads


lego tattoo ad campaign showcasing the extra fine lines of pilot hi-tec-C 0.25 mm pen
by Grey Barcelona

16.7.10

ADOC - Business card/s?

Ok... I think it's time for me to really pull my finger out and get down to business. First step - get the business card done then apply for an ABN.

Why didn't I do it earlier? Because I'm lazy.

Why do it now? Read on...

2 weeks ago, got an email from someone who wanted a tattoo. To top it off, the tattoo he wanted is a sketch I did a while back. He said he was browsing through the blog, saw the sketch and decided he want to get it tattooed on his arm. Talk about boost in self esteem!!

Apart from that, I have also worked on a company profile for a friend (corporate). Finished all the stationary for them and now they want a website before the end of next month.

At the moment, with my full time job, designing a website and trying to sketch 2 tattoo designs, things are a little crazy. But it's all happening!
Anyway, enough about the rant. I have 2 different business card designs done and I'm not sure which one to go with. It would be bloody awesome if you can help me out by voting which one you like best (left of page, under profile).

Business Card A                                                Business Card B

17.5.10

Submission to Threadless... again.

Hi guys. I have this design submitted and it is up for voting at threadless. If you have a few minutes to spare, please sign up to threadless (it's free) and vote. I will love you forever for that :)

Score this design: "Like Toy Soldier," to help it get printed on Threadless!
" />

30.4.10

Please VOTE!!

Threadless - a website where designers can submit their design and if the design is picked for printing, the designer will get some money and of course recognition in the threadless community.

I have been doing a fair bit of shopping at this site, most of my t-shirts are from threadless so I thought I might give it a shot in submitting my own design. Please click on the link and vote. Your comments and votes are much appreciated. We shall see how this turns out....


Score this design: "corrupt," to help it get printed on Threadless!


25.1.10

Project Koi

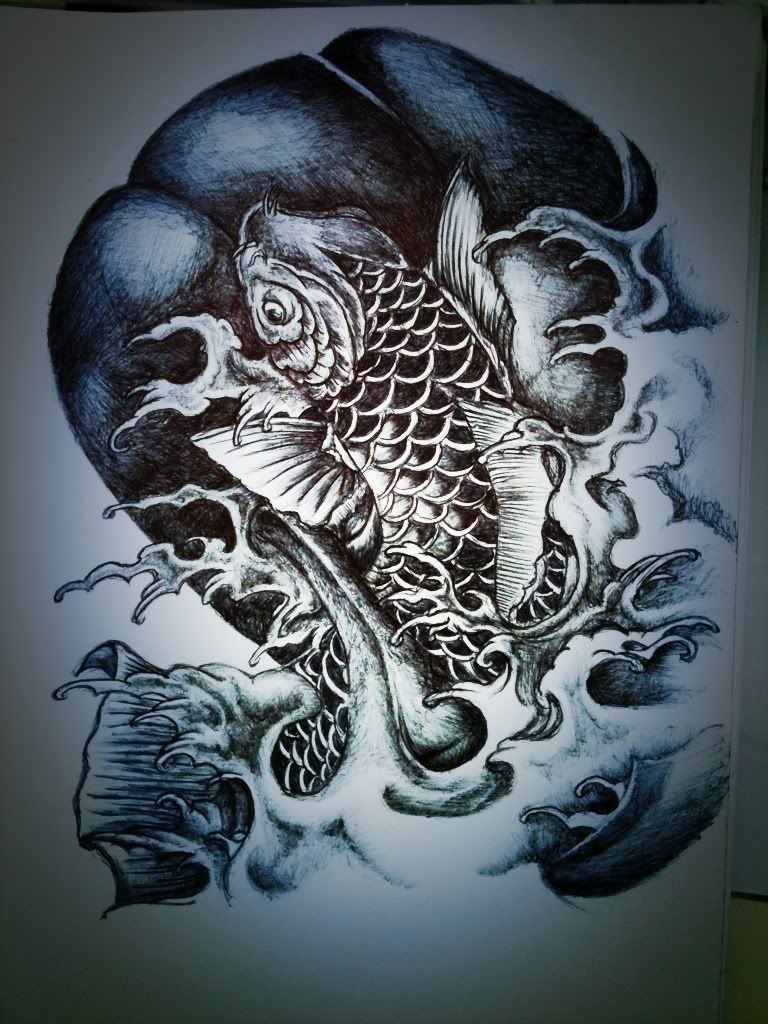
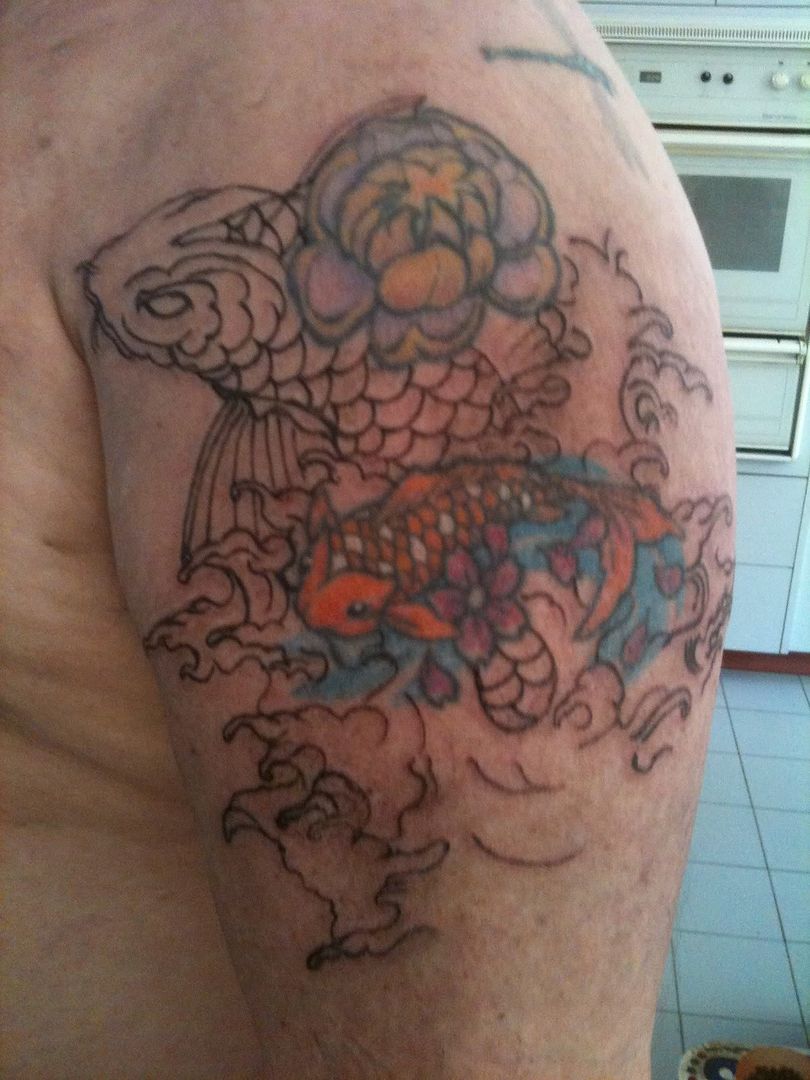
The past few weeks I have been working on a tattoo whenever I get some free time at work and at home. 2 weekends ago, I started doing the real thing, starting with the outline.

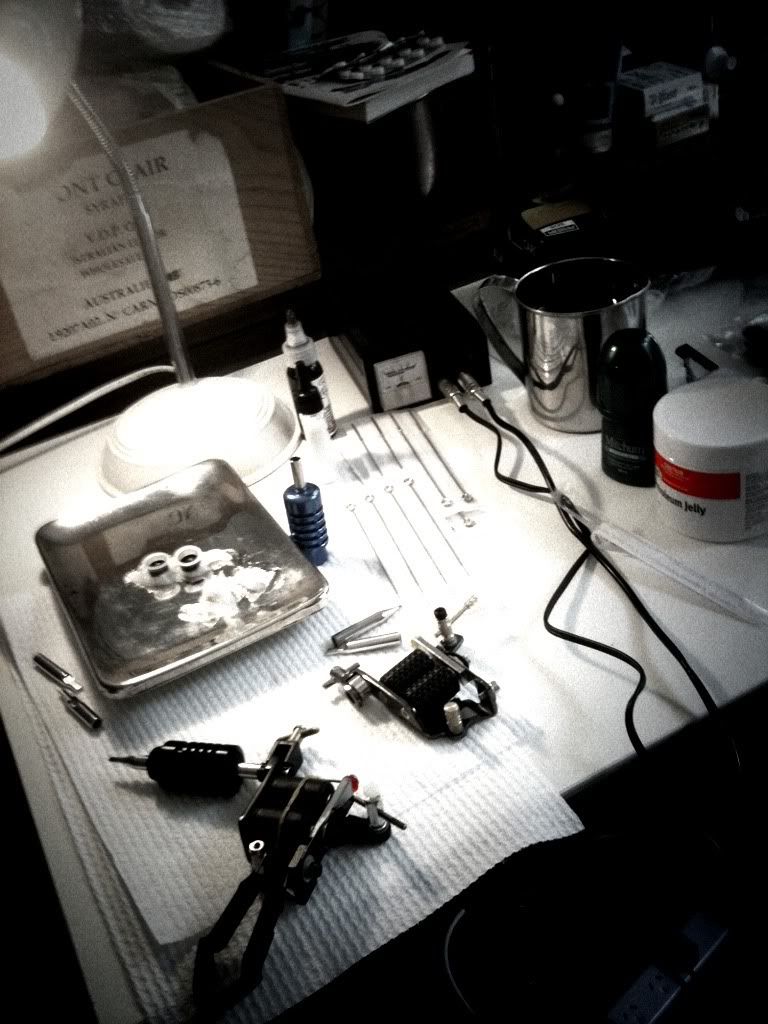
After spending more than an hour prepping the station (cleaning, sterilizing and making sure everything is in place) I move on to apply the stencil to the area which is gonna be tattooed. I'm not sure why (maybe the quality of the stencil paper) the stencil won't stay on. After a couple of rub with antiseptics, the stencil were wiped off the skin which was bad. After all the anticipation of finally getting the artwork done, it would be a depressing to postphone it again. It has been 6 months since I said yes to doing the tattoo.

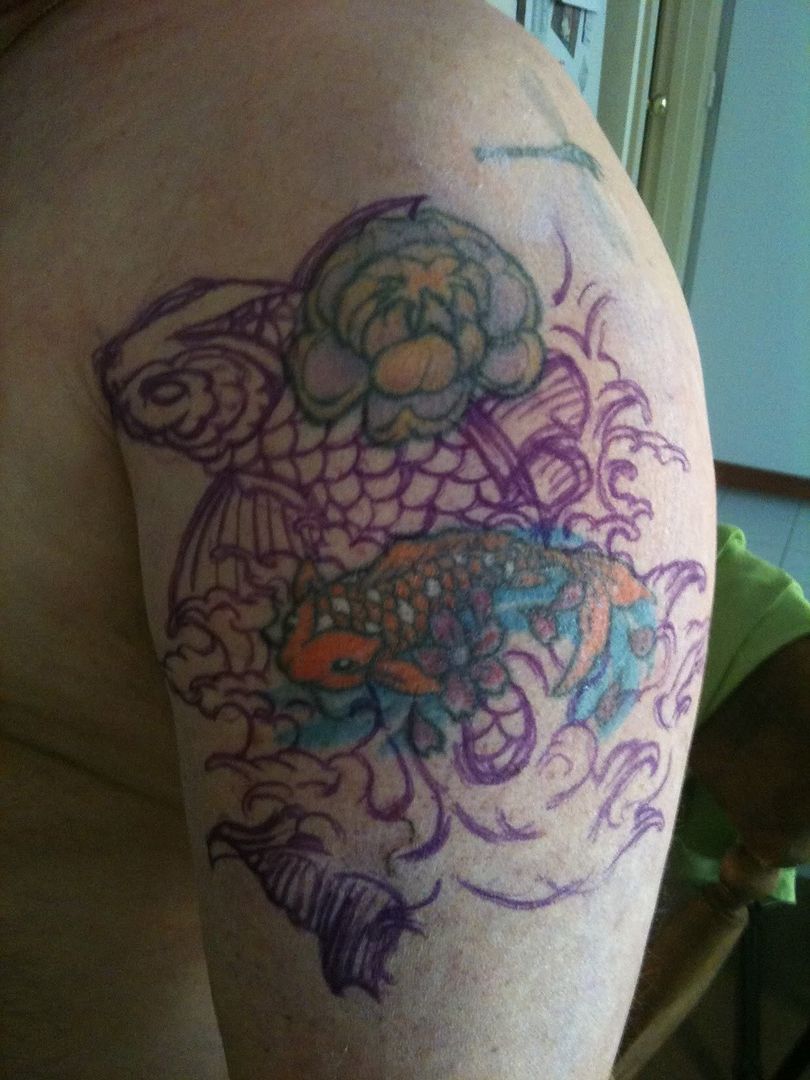
A few cigarettes later, I came to the conclusion of sketching the artwork on the arm, fuck the stencil. This is kinda risky, as some of you know, I'm not the best freehand sketcher in the world. I thought, fuck it, let's give it a try. With a marker pen in one hand and my sketch in the other, I started scribbling with structure of the Koi fish followed by the waves then the details. The hardest part was the head and the eyes. Getting them the right size and not look like a sweet potato took me a while but after trying a few times, I managed to sketch something half decent.

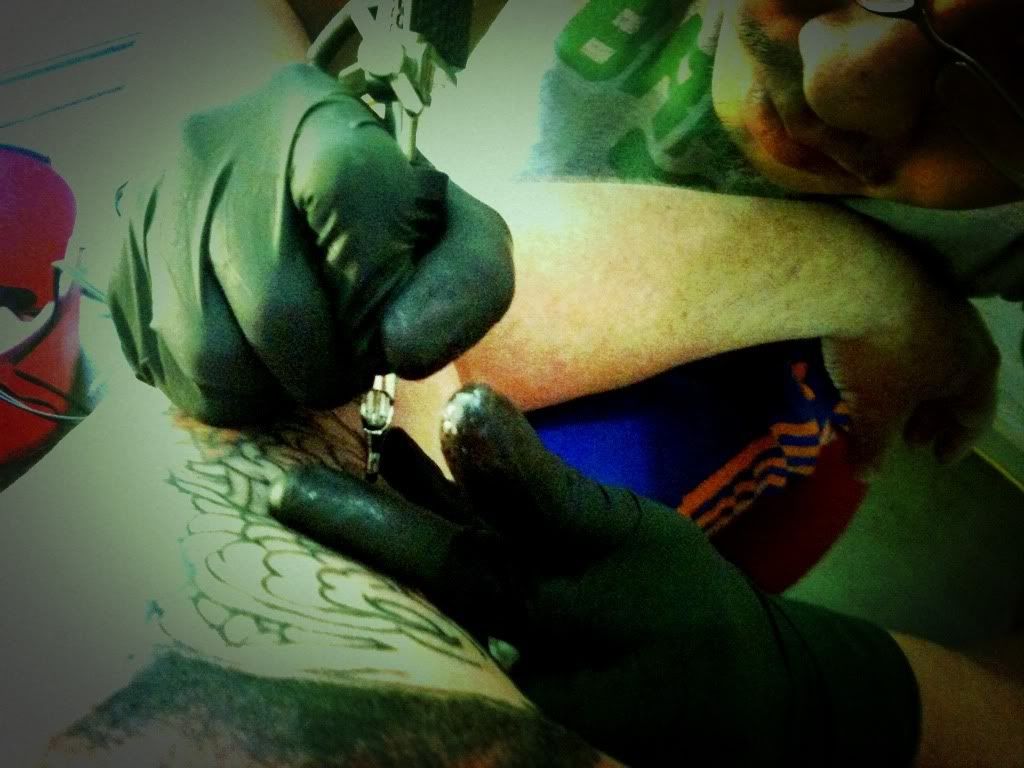
After the little drama, the outlining process went on without any problem. I must admit, I was a bit nervous in the beginning but as soon as I started tattooing, time just buzz by and before I know it, it was 2pm, time to take a quick break and have something to eat. 15 minutes later, I was back inflicting pain again. The whole outline process took a little more than 2 hours which wasn't bad. I was happy with the outcome, so I wrapped it up for the day, sterilized the tattooed area again and clean down the work station. The rest of that day, my mind was fully occupied with the possibilities of colours and shading techniques, what would look good and what would work on the tattoo. Pretty much everything about what's the next session gonna be like.

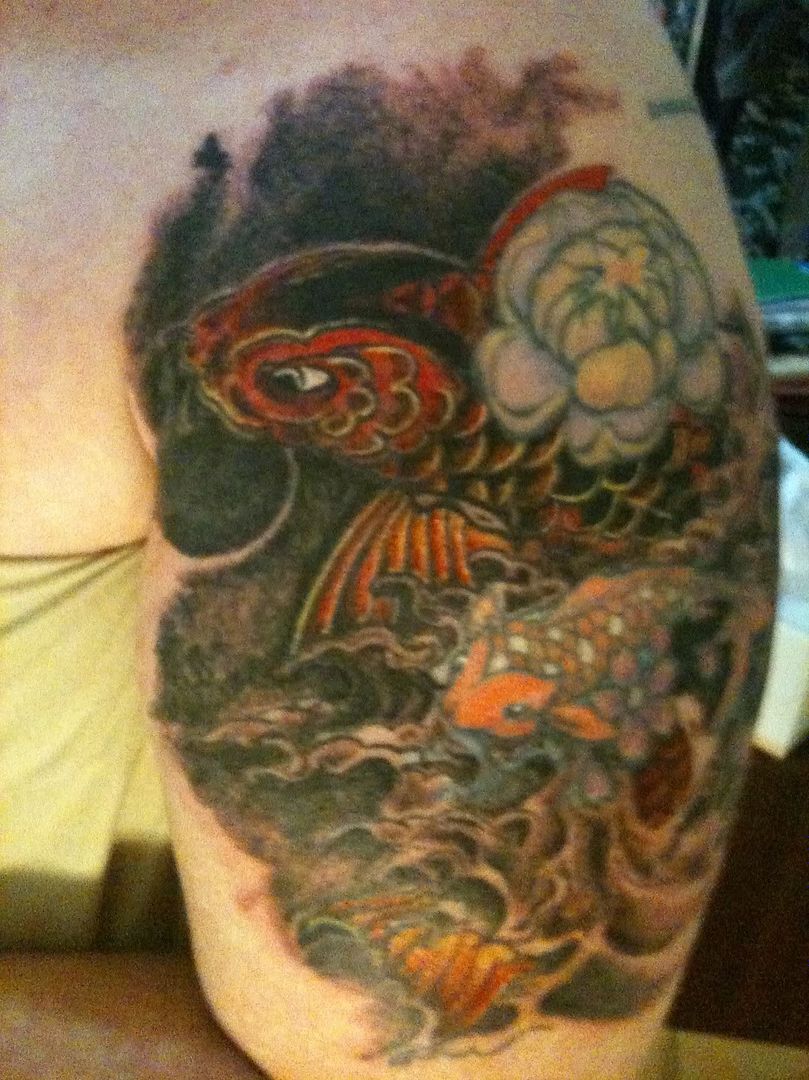
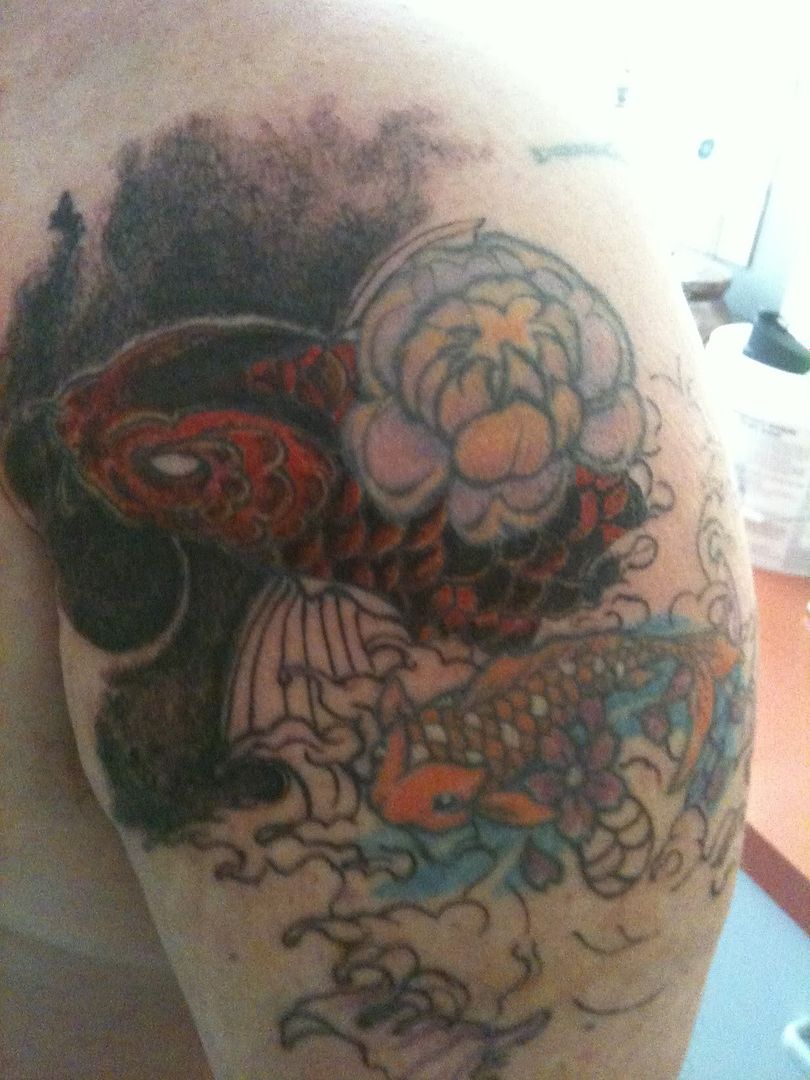
Yesterday was the pre-planned day to do the colours and shading. It would be the make or break session. I started doing the usual set up and without any hitch, the shading process begins. Started off with the darker grey area then moved on to the lighter grey. The shading turned out a little darker than I wanted but it's still not bad because after it heals, the colours will be lighter. This is because when the ink is applied to your skin, your skin tends to swell a little and you do bleed. This makes the colours darker than it looks, so I wasn't worried about the darkness of the grey.

After the shading, I moved on to the red, followed by the yellow. You might not see much of the yellow on the Koi in the pictures but trust me, adding the yellow to the scales and fin areas made a huge difference. Then at the end, white is added to highlight certain parts of the Koi and waves. I must give credit to Peter for sitting through the process without much complain even though I know how painful it must've been. I tried to be as gentle as possible but sometimes I just have to do what I have to do.

Five hours later, my legs were a bit numb, Peter's arm were swelling up, I know it's time to call it the day. The tattoo is looking pretty much like how I wanted it (not 100% though, I would give myself 70%). There are a quite a lot of work to do yet, more things to be added to the back of the arm and definitely need to do a touch up.

Anyway, stay tune for updates on this project of mine. Till next time folks...

Sketch on paper.
Work station.
Freehand sketch on skin. Easier to get the right position because of the existing tattoo.

At work.
Outline done. A couple of errors here and there but the shading and colours will cover the errors.

Half way through...

Final product... work in progress.

23.1.09

WallPaper Anyone?


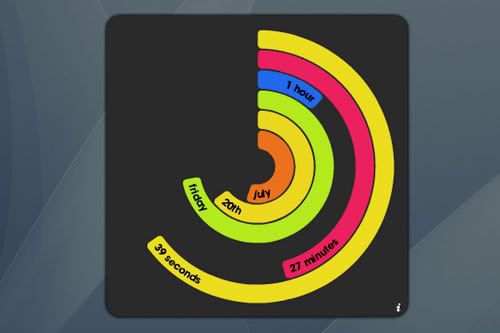
15 min desktop wallpaper. Though I'd share. If you think its lame... IF YOU SEEK EHYOU! (get back to me if you know what that suppose to mean. lol)